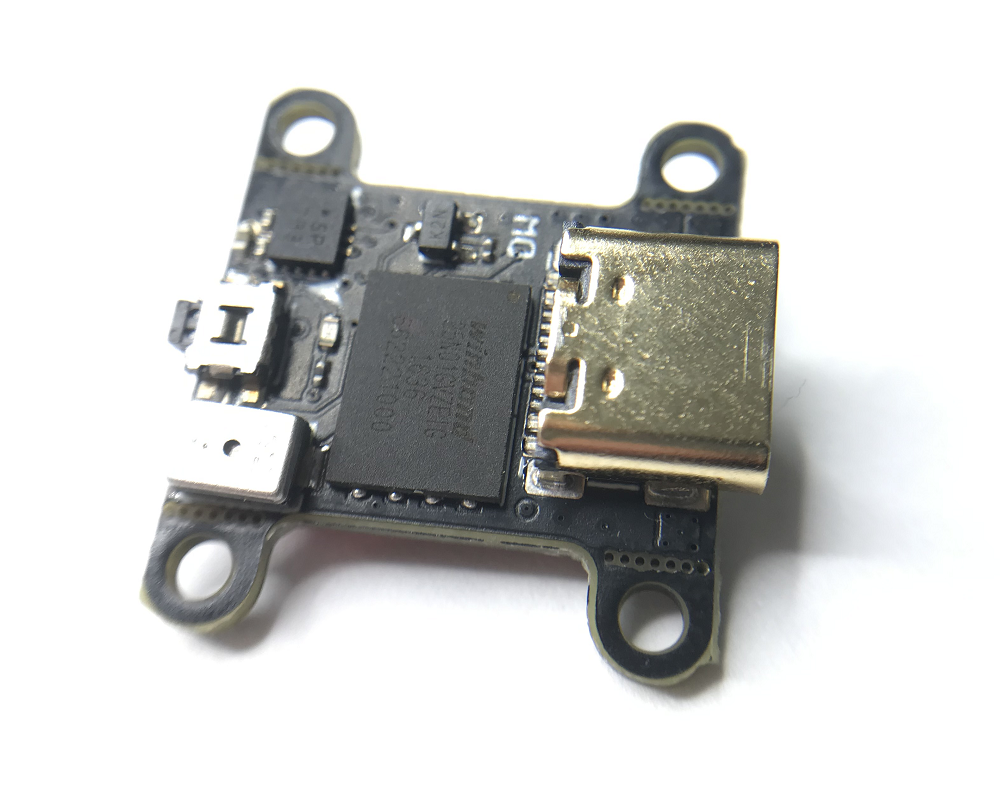
This is an initial setup guide for FlowBox – really nice IMU board used for video stabilization
1. Download / install Betaflight configurator 10.8.0 (nightlies)
https://github.com/betaflight/betaflight-configurator-nightlies/releases/
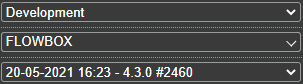
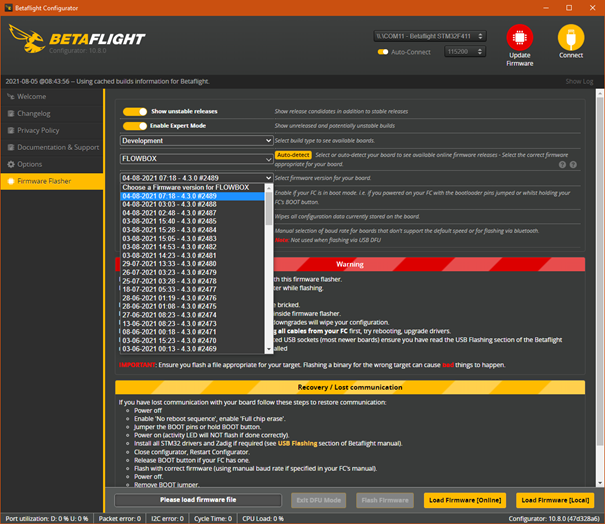
2. Update firmware – Connect Flowbox to USB and select latest Development firmware from the list (edit – select version 2460 as latest version can have corrupted data)
and click “Load Firmware (Online)”and than “Flash Firmware”
3. After SUCCESSFUL programming connect to board and click “Apply Custom Defaults”
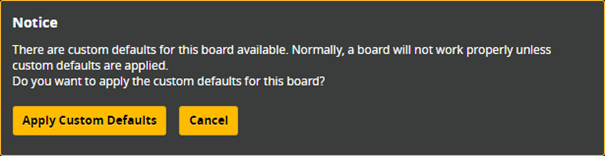
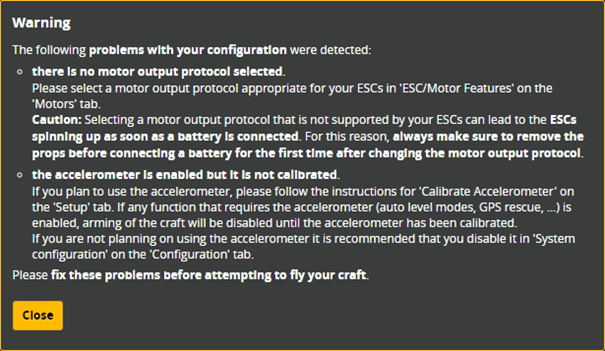
4. Close the warning window
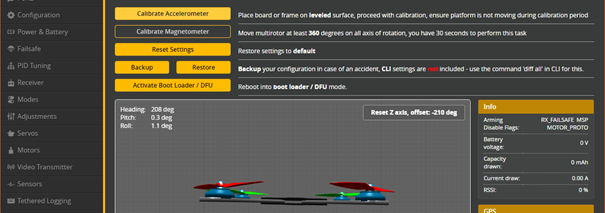
5. Place FlowBox on level surface and press “Calibrate Accelerometer”
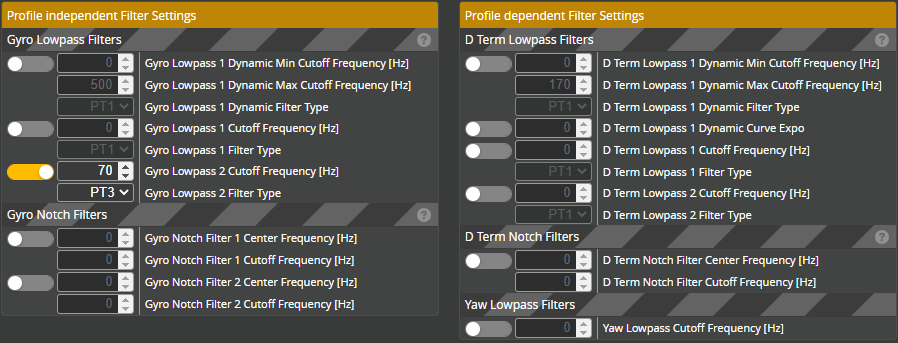
6. GO to “PID Tuning” menu and “Filter Settings” tab and set the filters according to picture:
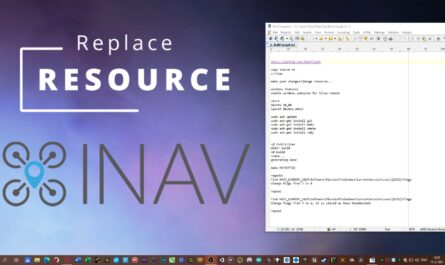
7. GO to CLI and paste those commands to save some flash memory space:
set mag_hardware = NONE
set baro_hardware = NONE
set small_angle = 180
set blackbox_sample_rate = 1/2
set blackbox_disable_pids = ON
set blackbox_disable_rc = ON
set blackbox_disable_setpoint = ON
set blackbox_disable_bat = ON
set blackbox_disable_alt = ON
set blackbox_disable_rssi = ON
set blackbox_disable_debug = ON
set blackbox_disable_motors = ON
set blackbox_disable_gps = ON
set name = Flowbox
save
8. For automatic start of data logging after power is connected to FLOWBOX paste into CLI:
set blackbox_mode = ALWAYS
save
9. For trigger logging by RC command/Arm switch – Set aux switch on your radio. You have to hook up the TX wire ( not the RX – will cause trouble with telemetry in some cases ) of your RC-link (don’t support SBUS in this version) to the FLOWbox and connect 5V to power it up, than configure the RC-link / radio tab like u always do on a FC using that uart and create an arm switch to trigger the blackbox recording at the end. (Not the one you really used to arm the quad of course. Keep in mind that you must be at 0 throttle to “arm” the FLOWbox and record a log – The LED should be off when you are ready to arm…a raised throttle will cause blinking. A static LED on shows you are recording.
10. Choose a gyro orientation that matches the mounting situation you want to use it for

It looks such a great little piece of tool.
But how can you sync the video with the mouvement ?
You have to use Gyroflow software, you can find more information here:
http://elvinchen.com/gyroflow/
hey! where can we purchase flowbox ? thanks!
That looks awesome. Where can I get this board or build myself one? Greetings.
I don’t think HW is available anymore, it was only proof of concept, but you can try to join Gyroflow discord and ask in harware dev channel: https://discord.com/channels/797044698682228736/939144959934734356