I ordered this one from Aliexpress as control board for my 3D printer curing machine and found out that is super powerful gadget for a price of 4$.
There’s 160Mhz ESP8266 CPU onboard seems like this one is a clone of original one by HELTEC.
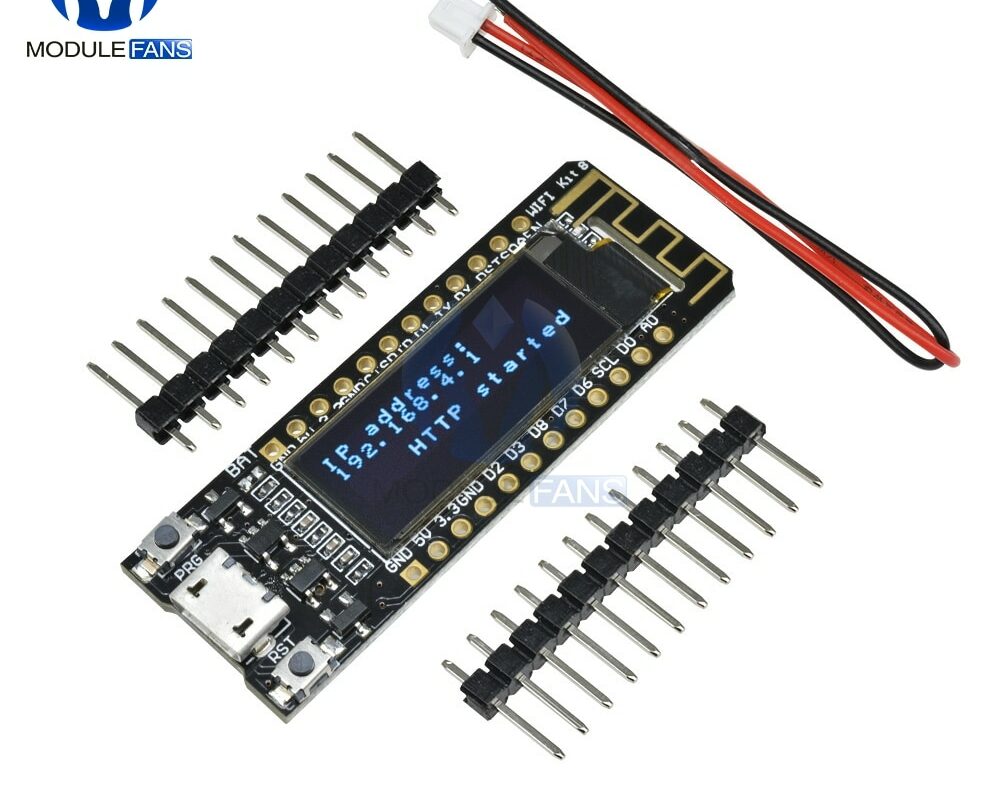
description from the HELTEC site: ” WiFi Kit 8 is a classic IoT dev-board designed & produced by Heltec Automation(TM), it’s a highly integrated product based on ESP8266 (Wi-Fi), Li-Po battery management system, 0.91″ OLED is also included. It’s the best choice for smart cities, smart farms, smart homes, and IoT makers. “
- Microprocessor: ESP8266 ;
- Micro USB interface with a complete voltage regulator, ESD protection, short circuit protection, RF shielding, and other protection measures;
- Onboard SH1.25-2 battery interface, integrated lithium battery management system (charge and discharge management, overcharge protection, battery power detection, USB / battery power automatic switching);
- Onboard 2.4GHz (for Wi-Fi) PCB antenna;
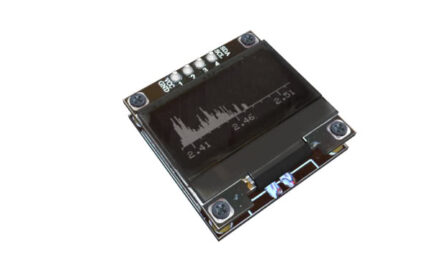
- Onboard 0.91-inch 128*32 dot matrix OLED display, which can be used to display debugging information, battery power and other information;
- Integrated CP2104 USB to serial port chip, convenient for program downloading, debugging information printing;
- Compatible with the Arduino development environment.
It seems like there’s more versions of this board on the market so also not all guides was OK for my one.
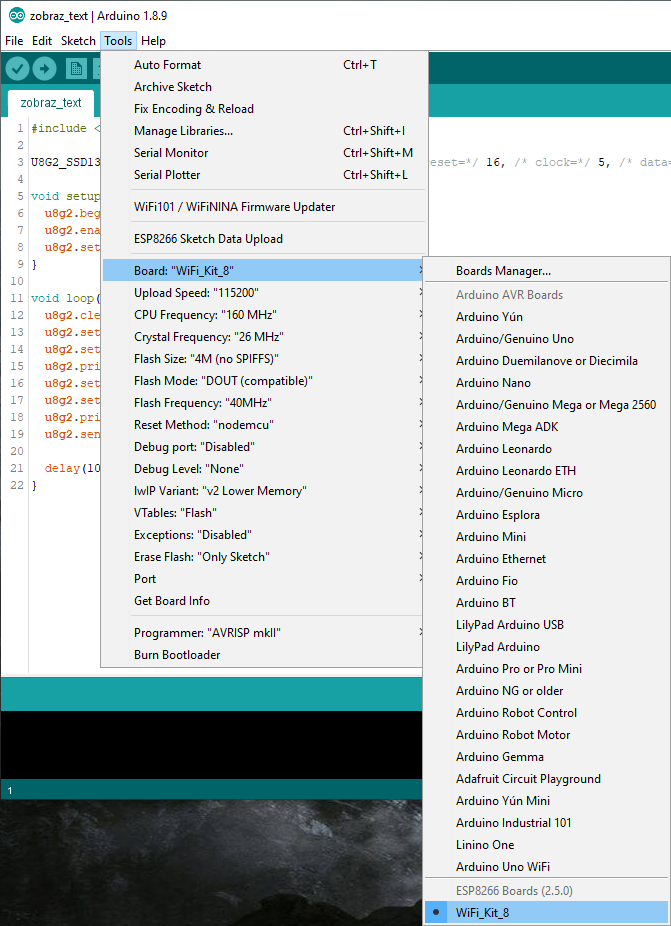
The right one was that from HELTEC, but it is little bit Chinglish and pictures are mixed, so I made this one by myself:
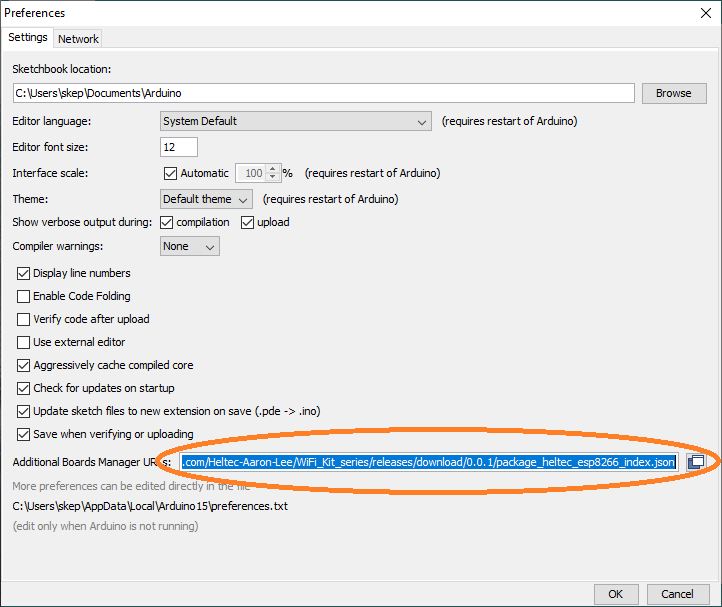
- Go to preferences in Arduino and in Additional Boards Manager URLs: paste:
https://github.com/Heltec-Aaron-Lee/WiFi_Kit_series/releases/download/0.0.1/package_heltec_esp8266_index.json
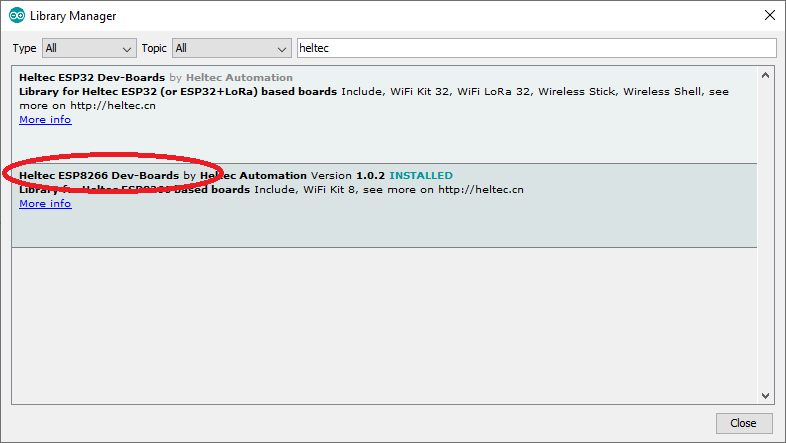
2. Go to Library Manager and search for “Heltec” and install Heltec ESP8266 Dev-Board
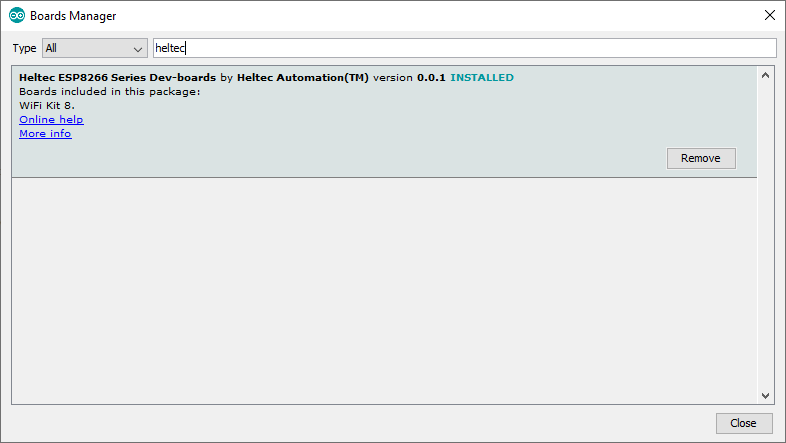
3. Go to Board Manager and search for “Heltec” and install Heltec ESP8266 Series Dev-Board
4. Select “Wifi Kit 8” as Board, and that’s it. You can use default setting for speed/frequency and so on or just change CPU frequency to 160Mhz if you need more speed.
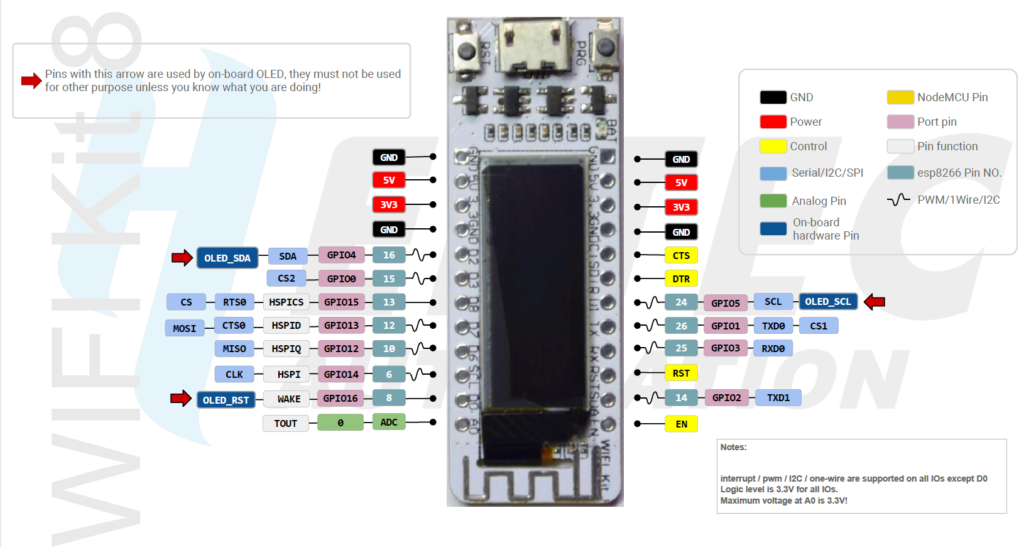
Also be careful that Arduino pins number are the same as GPIO nr on this diagram (and not as Pin NO with light blue/green rectangle):
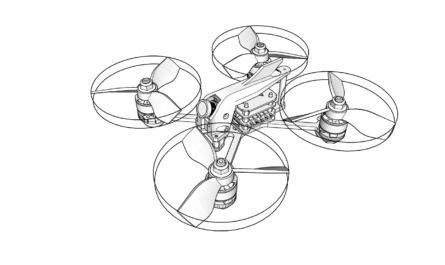
if you are interesting about 3D models, a made them as well: